GGshow reloaded GGshow reloaded

March 31, 2016

RPi 5 inch HDMI LCD

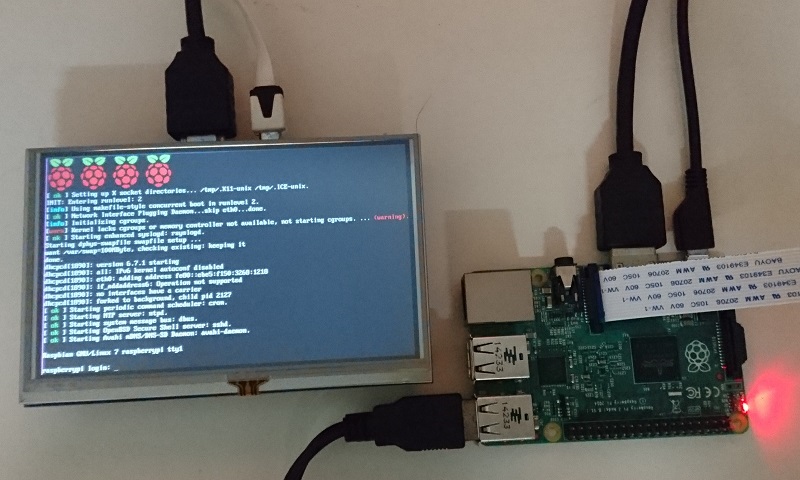
Bought a 5″ HDMI LCD screen for my Raspberry Pi, but it wasn’t working until I made some changes at /boot/config.txt file to force 800×480 screen resolution, edit /boot/config.txt and modify these lines:

hdmi_force_hotplug=1
hdmi_group=2
hdmi_mode=87
hdmi_cvt 800 480 60 6 0 0 0

Raspberry Pi 5inch HDMI LCD


Optionally to enable support of MJPEG, VP6, VP8, Ogg Theora & Ogg Vorbis, add these lines:

start_file=start_x.elf
fixup_file=fixup_x.elf
Filed under: Internet of Things (IoT),Linux,Raspberry Pi — Tags: , , , , — GG @ 2:08 pm

February 27, 2016

RPi camera

Enabling camera on your RPi

  • sudo raspi-config
    

Terminal commands

  • To take a picture
    raspistill -o filename.jpg
    
  • To play a recorded h264 video
    omxplayer filename.h264
    
  • To record a slow motion video (10 seconds, resolution 640×480 pixels, 90 frames per second)
    raspivid -w 640 -h 480 -fps 90 -t 10000 -o filename.h264

Installing Python API for RPi camera

  • sudo apt-get install python-picamera python3-picamera python-rpi.gpio
    

Python code samples

  • Preview and capture a photo
    import time
    import picamera
    with picamera.PiCamera() as camera:
        camera.start_preview()
        time.sleep(10)
        camera.capture('filename.jpg')
        camera.stop_preview()
    
  • Capturing multiple photos
    import time
    import picamera
    with picamera.PiCamera() as camera:
        i = 0
        while True:
            camera.start_preview()
            time.sleep(1)
            camera.capture(str(i)+(".jpg"))
            i += 1
            time.sleep(5)
    
  • Capturing photo when push switch pressed
    * connect a push switch to GPIO2 & GND
    * use current timestamp as filename
    * save JPG when push switch pressed

    from time import gmtime, strftime, sleep
    import picamera
    import RPI.GPIO as GPIO
    GPIO.setmode(GPIO.BCM)
    button=2
    GPIO.setup(button,GPIO.IN,pull_up_down=PIO.PUD_UP)
    while True:
        with picamera.PiCamera() as camera:
            camera.resolution = 1920,1080
            GPIO.wait_for_edge(button, GPIO.FALLING)
            camera.start_preview()
            sleep(2)
            camera.capture(strftime("%Y%m%d%H%M%S",gmtime())+'.jpg')
            camera.stop_preview()
    

    A photo posted by @le_g_end on

    #raspberrypi #camera & #pushswitch

    A video posted by @le_g_end on

  • Recording a 10 seconds video
    from time import sleep
    import picamera
    with picamera.PiCamera() as camera:
        camera.start_recording('filename.h264')
        sleep(10)
        camera.stop_recording()
    
    
  • Video recording and playback
    import os
    while True:
        os.system("raspivid -w 640 -h 480 -fps 90 -t 10000 -o filename.h264")
        os.system("omxplayer filename.h264")
    

Reference

RPi Chapter 1

Preparation

  1. Download Raspbian and install it on SD card.
  2. Login using default username: pi, and password: raspberry
  3. Run Xserver
    startx
    
  4. Update and cleanup
    sudo apt-get update
    sudo apt-get upgrade
    sudo apt-get clean
    
  5. Installing packages
    sudo apt-get install {package}
    

© 2024 GGSHOW | Powered by WordPress